Urban Composting: Making A Red Wriggler Worm Compost Bin
This post is the second of a two-part compilation on composting with red wriggler worms.
Making a Worm Bin is much easier than it may seem at first. It is a fun and easy process anyone can do. Below is a step by step process for making a worm bin. To make a Worm Bin, you will need the following items:
Plastic storage bin (medium or large)
Drill or screwdriver (be careful!)
Organic gardening soil
Organic compost
Recycled cardboard
Vegetable and fruit scraps
Water
Prepping Your Worm Bin
Using a drill or a heated screwdriver (be very careful in any case and keep children away at this point!!!), puncture 3-4 holes 1 or 2 inches below the top of the plastic bin. This allows for fresh oxygenated air to enter so your worms can breathe!
Turn the storage bin upside down and puncture 6 to 8 (or more) holes in the bottom. If conditions within the bin become uninhabitable for the worms, they can escape to freedom. The adventurous worms often burrow out, so check under the bin weekly to see if they are trapped underneath.
If you are putting only the Suggested Food Scraps in the bin (see below) and the bin does not feel hot or steamy, then you can simply put the worms on top of your compost layers again. They will go back to munching away on their gourmet feast!
Prepping Your Suggested Food Scraps
Globally, 1.4 billion tons of food is thrown into landfills yearly. The food is usually in a sealed plastic bag – which makes it all the worse! That food is not going anywhere for an exceptionally long time and the plastic remains on the Earth for millions of years!
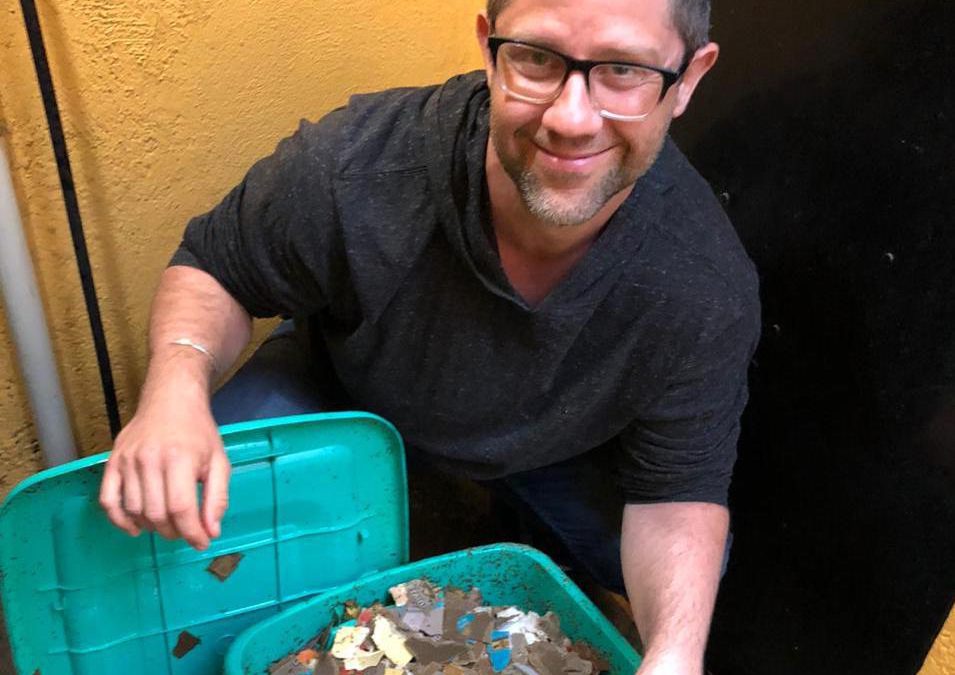
To help mitigate this effect, conscious people can compost. Since I began worm composting almost 2 years ago (with only 1 bin at that time), we have reduced trash bags going to the landfill by 75% or more! It has given my household a greater awareness of food waste, too!
When our worms could not keep up with our weekly food waste, we began to become aware our serious food waste problem that we had not even noticed existed – which sadly was initially very high due to buying more at the store to reduce grocery trips. We began a much more careful “food in” and “food out” inventory; and, we are happy to announce we have almost no food waste now and have saved a lot of money in the process.
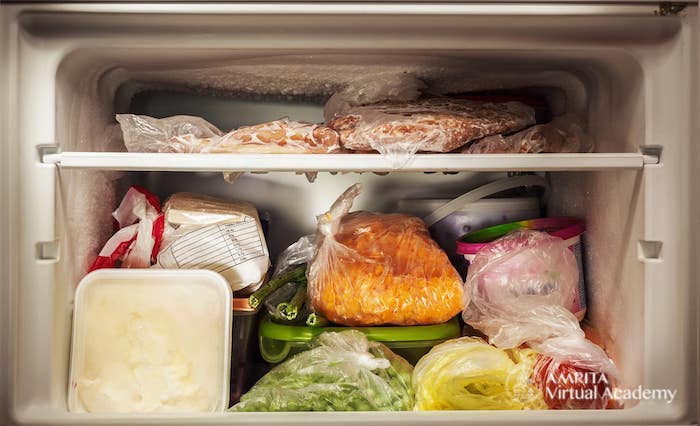
But do not be alarmed! If you have too much food scraps and no room in your bin, freeze them. This is better for the worms in the long run.
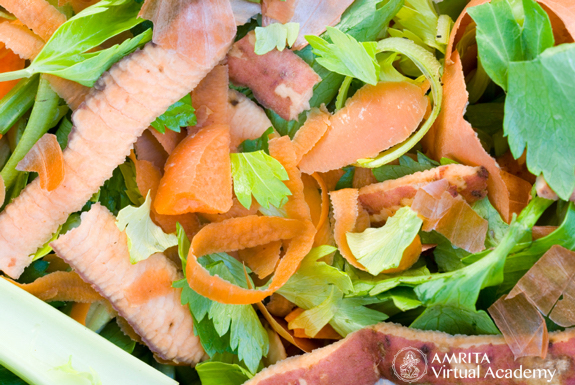
All vegetable and fruit scraps can go in the worm compost bin: EXCEPT: garlic, onions, hot peppers (chilis or jalapenos, for example), and citrus fruits. In addition, do not put cooking oils, cooked foods, dairy, or meats in the worm compost bin. Tea leaves are great. SOME coffee grounds are okay OCCASIONALLY.
When you cut up fresh food scraps (“very small, please!” request your worms) it can take a week or so before the scraps decompose and liquefy enough to be eaten by our worm kids. When you take frozen scraps out of the fridge and chop it up it often turns into a liquid mush. This is exactly what the worms crave!
Try to separate veggie greens and other acceptable veggies and fruits separate inside or outside of the freezer. The idea is to keep the greens separate from all other veggies and fruits. This separation should occur whether the food scraps are kept in a freezer or not
Prepping Your Recycled Cardboard
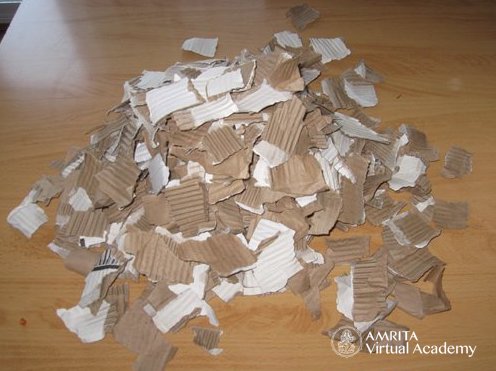
Save your cereal boxes, Amazon boxes, and any paper or cardboard packaging. “Reduce, reuse, and recycle” is the motto. Now we will reuse that cardboard! Shred or tear up the cardboard and save it in a dry place. Cardboard is both the bedding and a huge food source for the worms.
When you are ready to make the composting layers in your bin (see below), place several handfuls of cardboard in a bucket that has been cleaned free of any cleaning product or chemical.
Add water. Mix the water and cardboard together. Squeeze out the excess water from the cardboard pieces before applying to the worm compost bin. The consistency should be like a damp sponge after the water is squeezed out of it.
If you do not seem to be harvesting enough cardboard and paper packaging, start saving the napkins you use to wipe your mouth and paper towels (that do not have chemicals on them). The worms love it!
Creating A Home for Your Worms & “Compost Layering” in the Worm Bin
First, add 2 inches of organic soil to the bottom of your worm compost bin (after drilling or puncturing the holes as described above). Then, add 2 inches of organic compost. Thereafter you will make layers of food scraps alternating with damp cardboard and paper products. It is suggested to keep GREENS separate from all other food scraps. Greens ideally go on top to keep the bin from heating up. A layer of wet or dry paper products on top is said to reduce fruit flies, etc.
Click here to see all our Gardening courses.
Worm Bin Maintenance
Worm compost bins are easy to keep up with. I add damp cardboard and food scraps once every week or every other week. You will be able to “eyeball” how much of each is needed very quickly. In hotter climates or hot times of year, more damp cardboard may have to be added liberally.
Black Gold (worm castings)
The red wriggler worms will tend to stay in the upper layers of the worm bin and what moves downward? Black gold! Black gold is worm poo; or worm excrement. Black gold is a mixture of soil, broken down food particles, broken down cardboard, and worm excrement. This makes a superb natural organic fertilizer for indoors and out door plants and vegetables – it is full of nitrogen and phosphorus and life!
Thanks for reading! If you find this information useful, or would like to share your insights about composting, send an email to: amritaculture@amritavirtualacademy.com